Photoshop Tutorial - Dark Modern Header
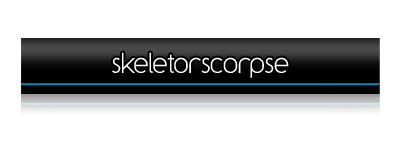
This tutorial with guide you through how to make a dark modern header for your website:
Step 1
Open Photoshop and create a new image how ever big you want it.
Step 2
Create a black bar using the rectangular marquee tool on a new layer.
Step 3
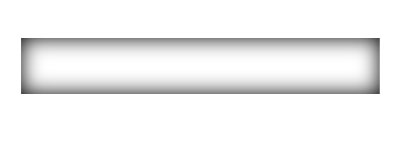
Using the same selection go to the Select menu and select feather, set to 10px. On a new layer fill this with white.
Step 4
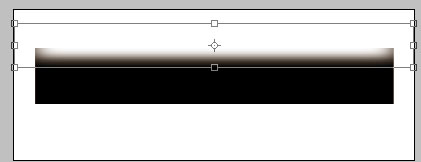
Press Ctrl + T to transform the layer. Drag the bottom slider up to the top to shrink the layer.
Step 5
Move the layer in to place and set the opacity to 30%.

Step 6
Select the Single Row Marquee tool and create a selection, press and hold Ctrl + Alt + Shift and click on the preview area of the black box in the layers panel.
On a new layer fill with #00adef do this again and make sure they are one on top of the other so it's 2px high.

Step 7
Now we will add some shading over the clue bar so it isn't so bright.
Press and hold Ctrl and left click the preview area of the blue bar in the layers panel.
On a new layer fill the selection with black.
Press Ctrl + D to deselect the selection.
Go to Filter » Blur » Gaussian Blur and set to 1px.
Set the layer opacity to 60%.
Press V and move up 1px.
Step 8
Add extra details to it such as text and reflection and you are finished.

Note: This tutorial was original posted on Skeletorscorpse on 01 December 2006.


Comments
Photoshop Tutor...
Sun, 2010-04-04 03:08
Permalink
[...] the original post here:
[...] the original post here: Photoshop Tutorial – Dark Modern Header « James Tombs Agregar a [...]