Create a burst of light in Photoshop using filters
This tutorial will show you how to create a burst of light in Photoshop using the basic filters provided with Photoshop.

Step 1: Create a new canvas and fill the background with black (#000000)
Open Photoshop and create a new canvas, whatever dimensions you want to use, I am using 500x500.
Fill the background layer with black (#0000000).
Step 2: Create the initial burst of light
Set the foreground colour to white (#ffffff) (you can do this by pressing d on the keyboard to reset the foreground and background colours then pressing x to switch the foreground and background).
Now select the Gradient tool and set the gradient to be foreground to transparent and set to a radial gradient.
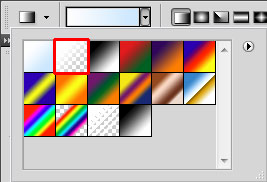
Now draw a radial gradient from the center of the document on a new layer.

Next create another layer. Go to Filters > Render > Clouds. Set the layer blend mode in the layers panel to Soft Light.
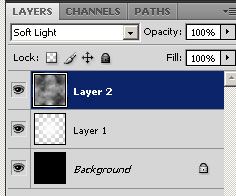
With the same layer still selected, go to Filters > Artistic > Plastic Wrap. You will need to play around with the settings here to get your desired result, I will leave them as the defaults.
Next, go to Filters > Blur > Radial Blur. Set the Amount to 100 and the Blur Method to Zoom.
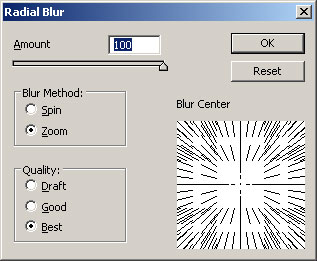
Click OK to apply the blur.
Step 3: Add colour to the burst
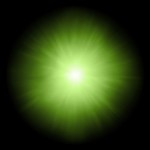
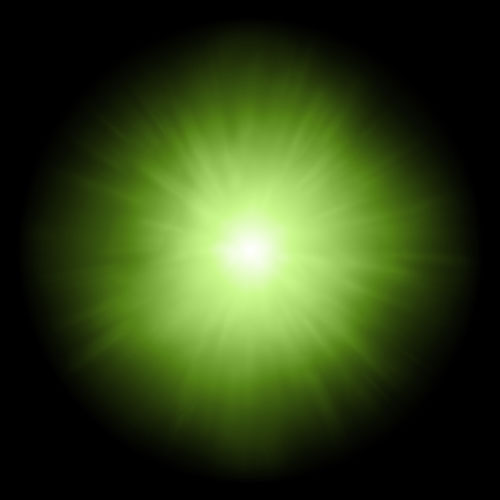
Create another layer and fill it with whatever colour you want the burst to be. I am using #8dc63f. Set the layers blend mode in the layers panel to Colour. Lower the opacity to 60-80% to get more detail from the burst.
Result


Comments
yongz
Tue, 2016-10-18 23:00
Permalink
nice tut
help me a lot, thanks