Create a glossy button in Photoshop
This tutorial will teach you how to create a glossy button that is reusable by using Layer styles. Layer styles are not available in some older versions of Photoshop and Photoshop Elements.
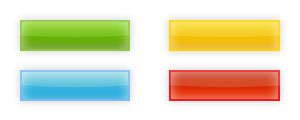
Step 1: Create a new canvas and create a new layer
In Photoshop, create a new canvas and add a layer. In this layer draw a rectangular shape using the marquee tool while leaving a small space around the canvas border.

Fill this shape with white on the new layer.
Step 2: Set the layer styles
Right click the layer and select Blending Options.
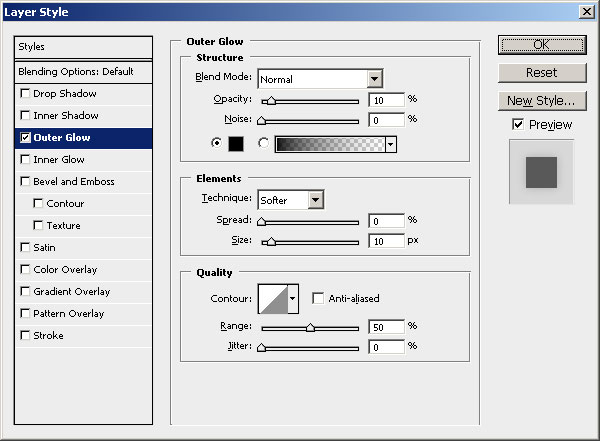
Tick Outer Glow and set the Blend Mode to Normal and the Colour to black (#000000) and lower that Opacity to 10%. In the Elements section, change the Size to 10px.
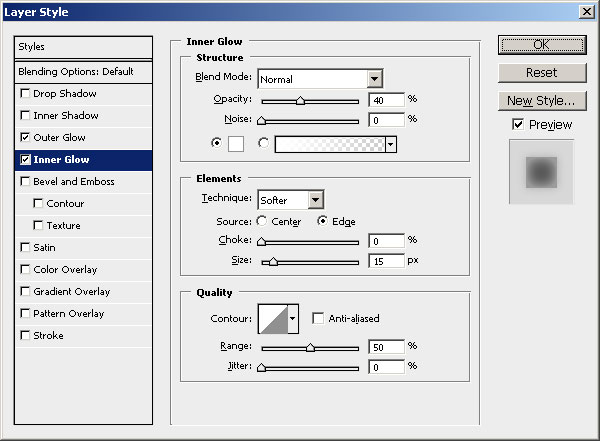
Next tick Inner Glow and set the Blend Mode to Normal and the Colour to white (#ffffff) and set the Opacity to 40%. In the Elements section, change the Size to 15px.
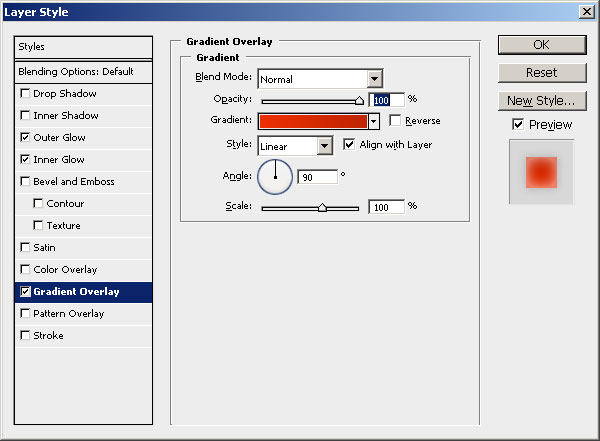
Next select Gradient Overlay, leave all the settings at their defaults, but change to the Gradient to the colour you want. In this example I have chosen #ec2f03 to #c02502.
Finally, tick the Stroke checkbox, and lower the Size to 2px and the Position to Inside. Set the Colour of the stroke to something slightly different than the gradient. I chose #ed1c24.
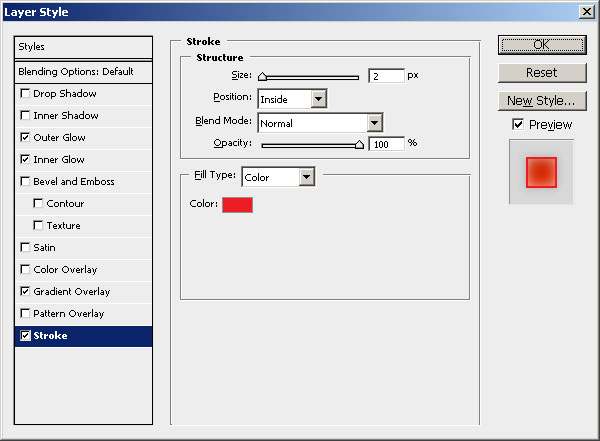
Step 3: Add a slight shine to the button
Create another layer on top of the button and select the Eliptical Marquee Tool and draw an elipse covering the top half of the button.

With the selection active, press and hold Ctrl, Alt and Shift and left click the layer preview of the button. This should limit the selection just to the area of where the selection meets the button.

On the new layer, Fill this with white (#ffffff) and set the Opacity of the layer to 15%.
Result


