[Drupal] Installation
You will need to have set up an IIS or Apache webserver with PHP 5.2 or greater and a Mysql/PostgreSQL database before you can work on Drupal. For more requirements see [Drupal] Overview.
If you do not have a webserver yet but wish to set up your personal computer as a testing environment, please read through and complete the following guide on Setting up your PC as a test environment using Apache, PHP and MySQL.
Download Drupal
For this tutorial we will be using Drupal 6. You will be able to follow through a fair amount using Drupal 5 but some features may be new.
Go to the Drupal website and click the link on the right hand side to download Drupal 6. As of writing the latest version is Drupal 6.4.
Once downloaded, right click the file and extract. This should produce a folder called drupal-6.4. Rename this folder to drupal. Move this folder to the public web folder of your web server set up (public_html, www, htdocs, httpdocs).
Setup MySQL server
Depending on the setup that you are using, you will have to create a database using whatever tools are available to you.
PHPMyAdmin
The most common bit of software is PHPMyAdmin which is generally accessible through http://www.domain.com/phpmyadmin/.
On the homepage, type the name of the new database in the box and press Create. I will call my database drupal, although on a public website it is best to give the database an obscure name.
Command Line
Open up a command prompt, change directory to the mysql/bin folder. Type the following to login to the MySQL server:
mysql -h localhost -u root -pThen type your password in.
Then type the following:
create database drupal;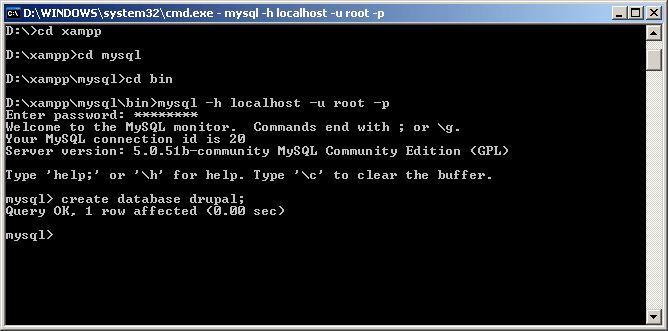
The database is now set up.
Drupal Installation
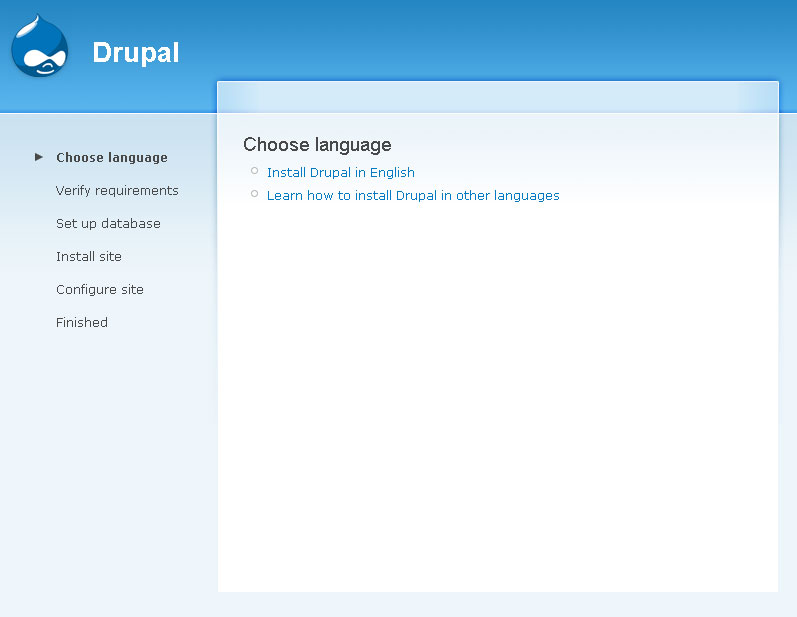
In your browser navigate to http://localhost/drupal/. This should present you with the Choose language screen of the Drupal installer.
Click Install Drupal in English.
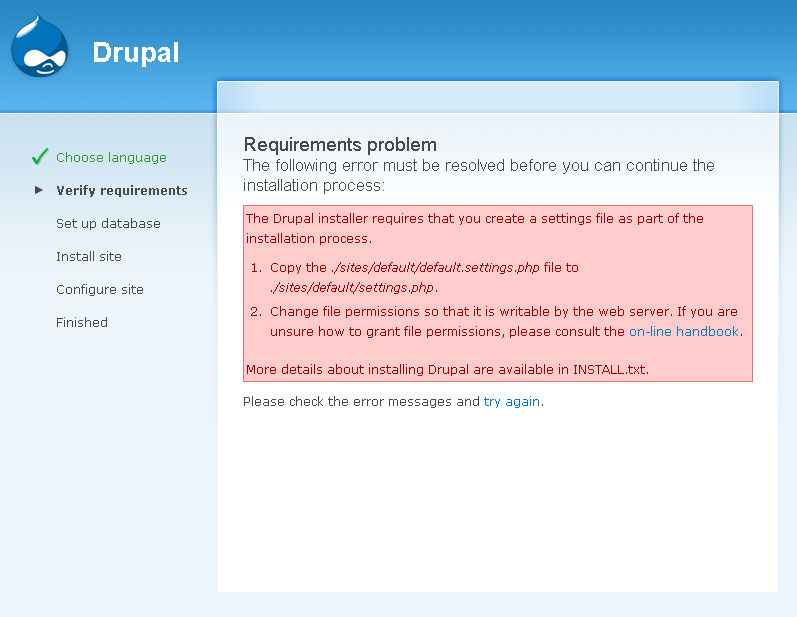
If you get an error like the following:
Then you need to navigate to the drupal/sites/default folder. Copy the file default.settings.php and paste it, rename it to settings.php. Then click try again.
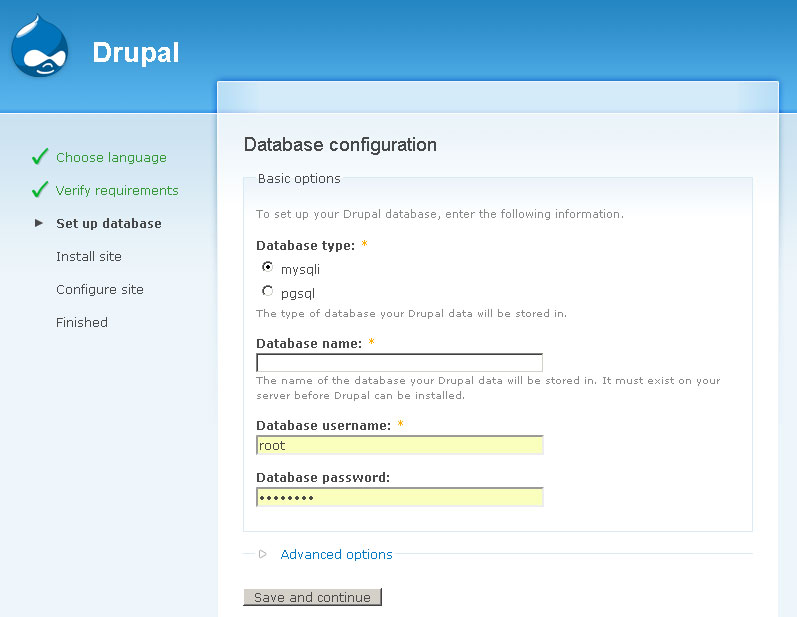
Now the installer will ask you for your database settings.
Fill these in and press Save and continue.
On the next page fill in all of the required information and press Save and continue.
If you are on a local test environment you may get a message about being unable to send an email, ignore this message, it will be OK once put on a proper server. Just remember that no emails will be sent from the server from this point unless you fix it.
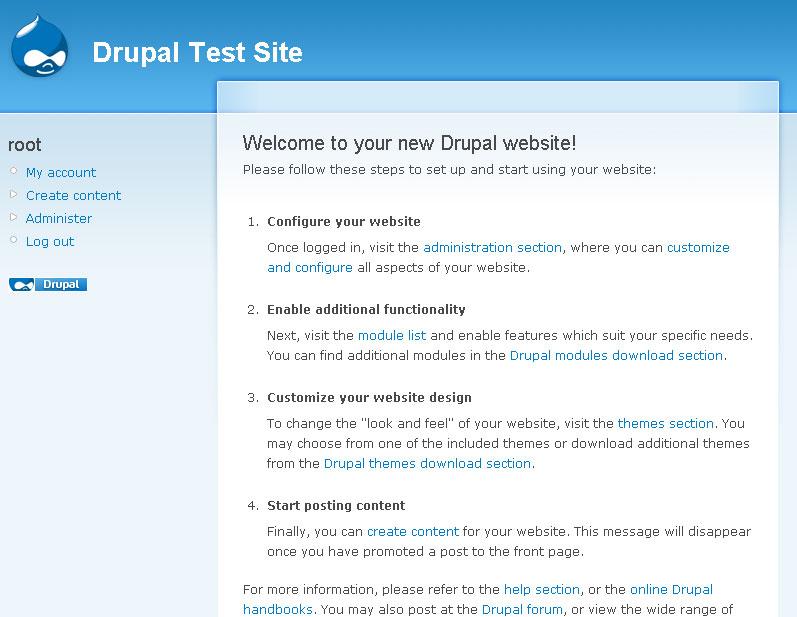
Then click the link to view the site. You will then see the frontpage to your new website.
